Expert Tips for Assembling Custom Carpentry Furniture
- thehandyjp
- Jul 17
- 4 min read
Creating custom carpentry furniture can be a rewarding experience. Not only do you get to design pieces that fit your style and needs, but you also gain a sense of accomplishment from building something with your own hands. Whether you are a seasoned woodworker or a beginner, there are essential tips that can help you assemble your custom furniture effectively.
In this post, we will explore expert advice on materials, tools, techniques, and design considerations. By the end, you will be equipped with the knowledge to create beautiful, functional furniture that enhances your space.
Understanding Your Design
Before you start gathering materials or tools, it is crucial to have a clear design in mind.
Sketch Your Ideas: Begin with a simple sketch. This will help you visualize the piece and understand its dimensions.
Consider Functionality: Think about how you will use the furniture. Will it be a coffee table, a bookshelf, or a dining table? Understanding its purpose will guide your design choices.
Choose a Style: Decide on the style you want to achieve. Do you prefer modern, rustic, or traditional designs? This will influence your material selection and finishing techniques.
Selecting the Right Materials
Choosing the right materials is vital for the durability and appearance of your furniture.
Wood Types: Different woods have unique characteristics. For example, oak is strong and durable, while pine is lightweight and easy to work with.
Plywood vs. Solid Wood: Plywood is often more stable and less prone to warping than solid wood. However, solid wood can provide a more authentic look.
Finishes: Consider how you want to finish your furniture. Stains, paints, and sealants can enhance the wood's natural beauty and protect it from wear and tear.
Essential Tools for Assembly
Having the right tools can make the assembly process smoother and more enjoyable.
Basic Hand Tools: A good set of hand tools is essential. This includes a saw, hammer, chisel, and measuring tape.
Power Tools: If you are comfortable using power tools, consider investing in a drill, sander, and circular saw. These can save you time and effort.
Safety Gear: Always prioritize safety. Wear goggles, gloves, and a dust mask to protect yourself while working.
Step-by-Step Assembly Process
Once you have your design, materials, and tools ready, it is time to start assembling your furniture.
Measure and Cut: Begin by measuring your wood pieces carefully. Use a saw to cut them to the correct dimensions.
Dry Fit: Before gluing or nailing, do a dry fit. This means assembling the pieces without any adhesive to ensure everything fits together properly.
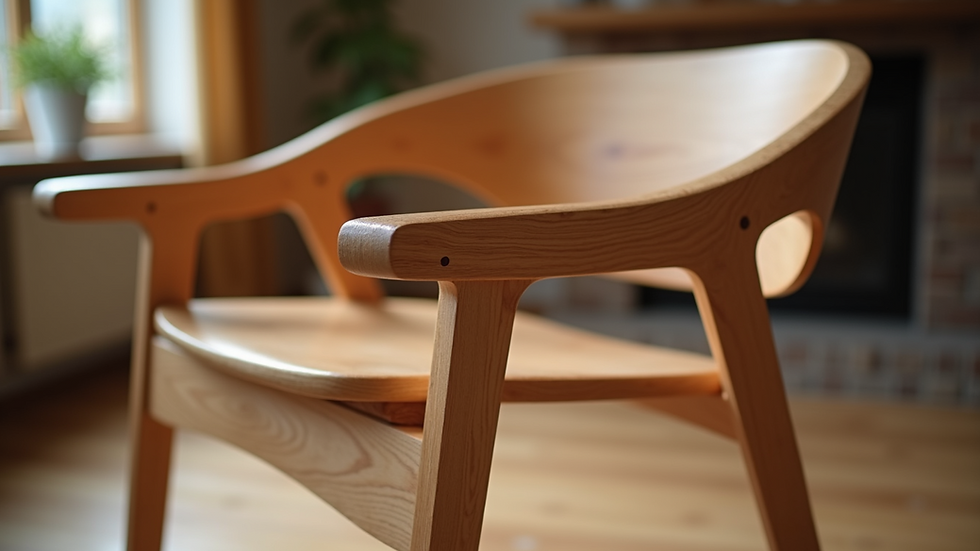
Joinery Techniques: Choose the right joinery technique for your project. Common methods include butt joints, dovetail joints, and mortise and tenon joints. Each has its strengths and weaknesses.
Assembly: Once you are satisfied with the dry fit, start assembling. Use wood glue for added strength, and secure joints with screws or nails.
Sanding: After assembly, sand the surfaces to create a smooth finish. Start with coarse sandpaper and gradually move to finer grits.
Finishing Touches: Apply your chosen finish. This could be a stain, paint, or clear coat. Allow it to dry completely before using the furniture.
Tips for a Successful Project
Here are some additional tips to ensure your custom carpentry project is a success.
Take Your Time: Rushing can lead to mistakes. Take your time with each step to ensure quality.
Ask for Help: If you are unsure about a technique, don’t hesitate to ask for help. Online forums and local woodworking clubs can be great resources.
Keep Learning: Every project is an opportunity to learn. Take notes on what worked and what didn’t for future reference.
Troubleshooting Common Issues
Even with careful planning, issues can arise during the assembly process. Here are some common problems and how to solve them.
Warped Wood: If your wood is warped, try to flatten it by applying moisture and weight. Alternatively, you can cut it into smaller pieces.
Misaligned Joints: If your joints are misaligned, you may need to disassemble and reassemble them. Use clamps to hold pieces in place while the glue dries.
Rough Edges: If you notice rough edges after assembly, sand them down carefully. This will improve the overall appearance of your furniture.
Maintaining Your Custom Furniture
Once your furniture is complete, proper maintenance will ensure it lasts for years.
Regular Cleaning: Dust your furniture regularly to prevent buildup. Use a soft cloth and mild cleaner to avoid damaging the finish.
Avoid Direct Sunlight: Keep your furniture out of direct sunlight to prevent fading and warping.
Reapply Finish: Depending on the type of finish you used, you may need to reapply it every few years to maintain protection.
Final Thoughts on Your Carpentry Journey
Assembling custom carpentry furniture is not just about creating a functional piece; it is about expressing your creativity and craftsmanship.
By following these expert tips, you can navigate the process with confidence. Remember to plan your design carefully, choose the right materials, and take your time during assembly.
With practice, you will improve your skills and create stunning furniture that reflects your personal style. So gather your tools, unleash your creativity, and enjoy the journey of building your custom furniture.

Comments